It’s simple to get caught on the large ticket gadgets whenever you’re personalizing your motorbike, but it surely’s the little issues that make the most important distinction. Most bikes ship from the manufacturing unit with unpleasant lights and switch indicators, and swapping these out is a fast approach to tighten up your bike’s general look.
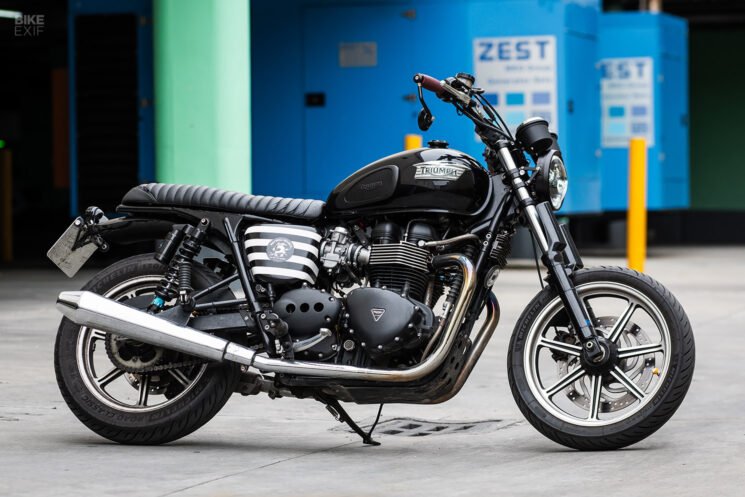
My 2012-model Triumph Bonneville SE is in no way a full-blown customized construct. As an alternative, I’ve modified it little by little every time the chance arises. The most recent spherical of tweaks concerned putting in a brand new LED headlight and teeny tiny flip indicators, equipped by Australia’s Purpose Built Moto.
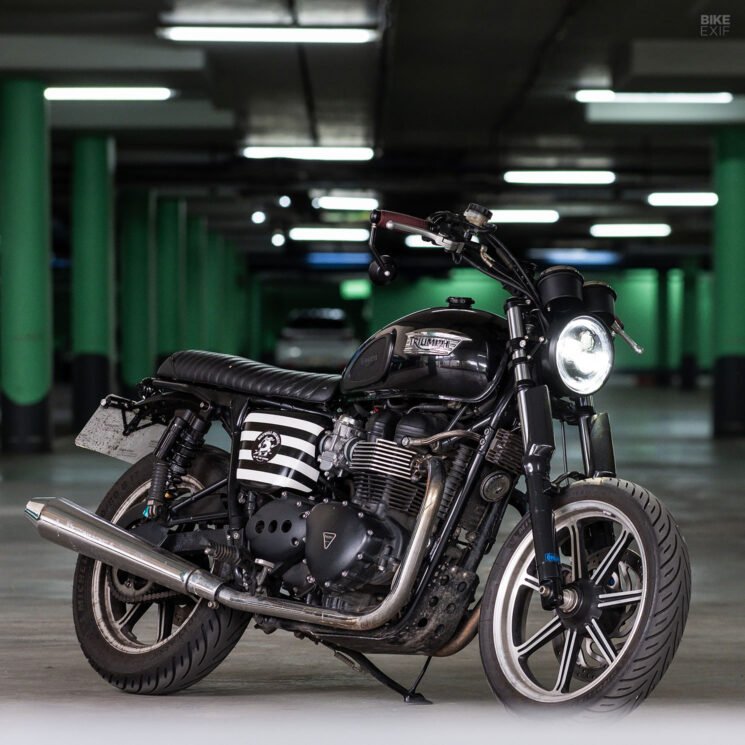
Goal Constructed Moto 7” Flashpoint Traditional LED headlight Out there in myriad sizes, kinds, and finishes, the Goal Constructed Moto Flashpoint LED headlight has graced numerous PBM customized builds. For my Bonneville, I picked the 7” Traditional model—plus a set of PBM’s universal mounting brackets to connect it to. After some fiddling (and a little bit of cursing), my Triumph had a slick new lighting setup with a tighter, cleaner look.
PBM’s elements aren’t completely plug-and-play, however they’re not notably onerous to put in both. That’s as a result of the store designs its elements to suit nearly any motorbike, quite than tailoring them to specific fashions. If you happen to’re useful with a soldering iron and have a cursory data of wiring, you’re good. (PBM’s intensive catalog of how-to videos is useful, too.)
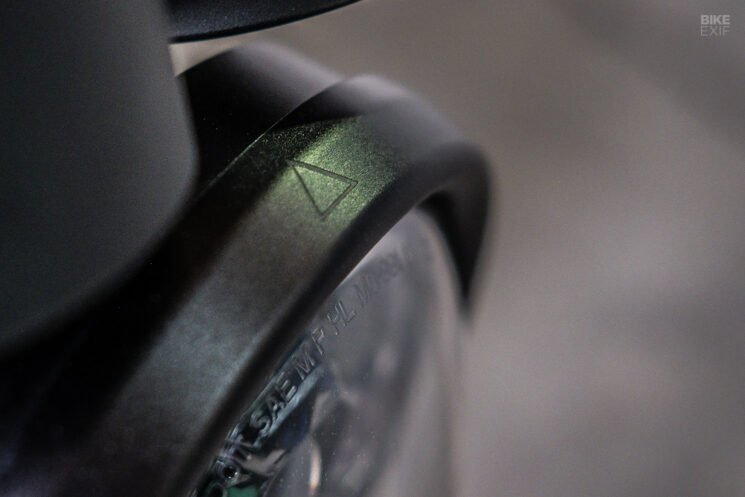
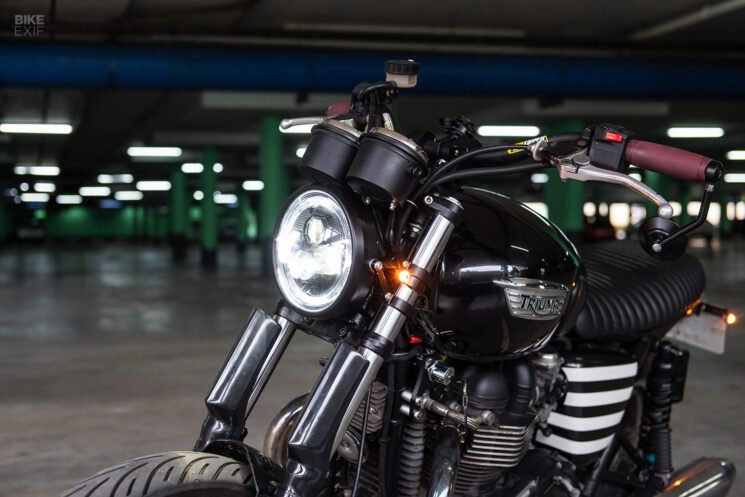
The Traditional model of the Flashpoint headlight softens the trendy look of an LED by enclosing the sunshine in a smooth steel ring, mimicking a classic headlight housing. The one branding is a small triangle (PBM’s emblem) etched into the highest fringe of the ring.
The LED unit contains excessive and low beam lights, plus a daytime operating gentle operating round its circumference. The wiring is useless easy; there’s a regular three-pin H4 headlight connector, plus a brief ‘adapter’ harness that hyperlinks the H4 plug to a different frequent three-pin connector. If neither connector suits your bike, you’ll be able to strip the adapter harness and wire it in manually.
There’s additionally an additional wire and connector for hooking up the operating gentle. In case your wiring already has a daytime operating gentle circuit, you’ll be able to join it right here. If not, you’ll be able to hook it as much as your low-beam or high-beam circuits, set up a separate swap, or go away it disconnected.
For my Bonneville, I ended up splicing the operating gentle’s wire into the low-beam circuit in order that it’s at all times on. Figuring it out took me a minute—however not so long as it took me to safe the headlight to the bike.
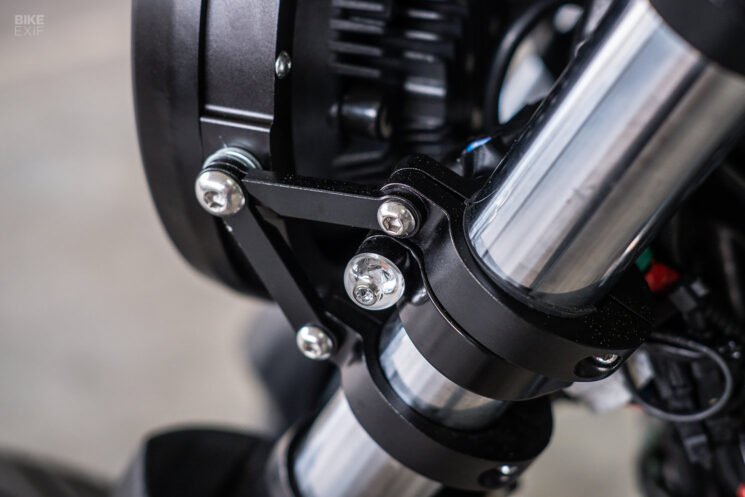
That’s no fault of the gear although. The Flashpoint headlight sports activities threaded holes on the sides and backside, and it ships with a pair of domed-head M8 bolts, providing you with a number of mounting choices. PBM’s fork-mounted headlight ears are available in three sizes, every with a variety of adjustment to match the thickness of your fork tubes.
The tough half is lining all the things up—after which fine-tuning the position. Because of their design, the PBM headlight brackets not solely allow you to set the sunshine’s peak, but additionally how shut it sits to the forks. But it surely takes lots of measuring, setting, checking, tightening, loosening, and re-adjusting to get the headlight the place you need it whereas guaranteeing each brackets sit evenly.
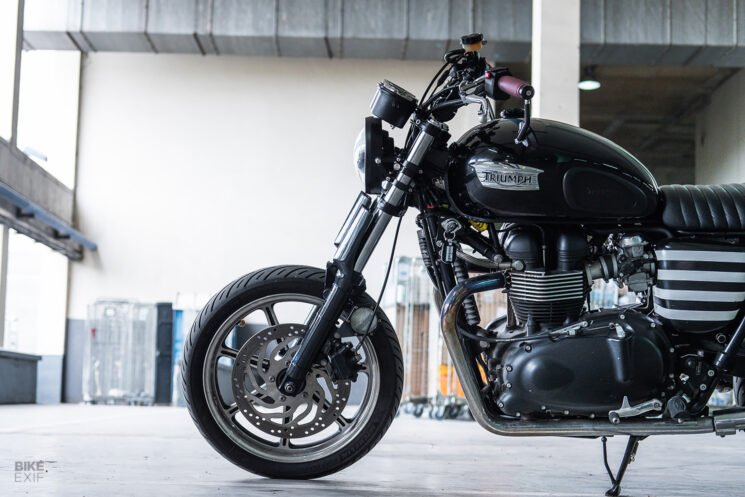
Not each bike’s forks are the identical width both, so I needed to slip a couple of washers between the headlight and the brackets to fill the gaps. In the long run, I managed to get the Flashpoint headlight proper the place I wished it—mounted near the forks for a extra aggressive look, and on the excellent peak to tuck it beneath the Bonneville’s clunky dials.
My remaining hurdle was determining what to do with the mess of wires and connectors that used to dwell contained in the Triumph’s beneficiant headlight bucket, for the reason that Flashpoint unit wears nothing greater than a heatsink behind its lens. (As you’ll be able to inform from the photographs, hiding these wires is an issue I’ve but to resolve.)
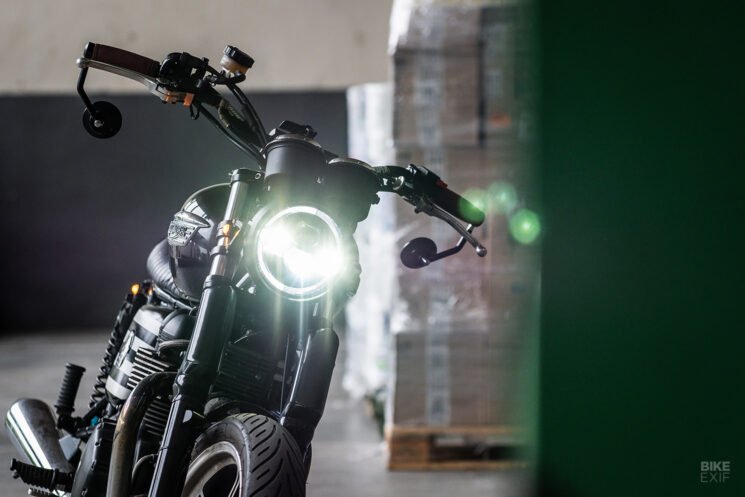
Even with these hiccups, I had the Goal Constructed Flashpoint LED headlight put in in an inexpensive timeframe. On the street, the distinction between a regular concern 13-year-old bulb and a model new LED setup, with a 2,400-lumen low beam and a 4,000-lumen excessive beam, is evening and day. The beam is good and huge, and there’s a very good stability between the throw of the low- and high-beam modes.
From a security standpoint, my bike is extra seen throughout the day and I can see higher when driving at evening. From a visible standpoint, it’s a minimalist and classy unit that appears immeasurably higher than the inventory headlight did.
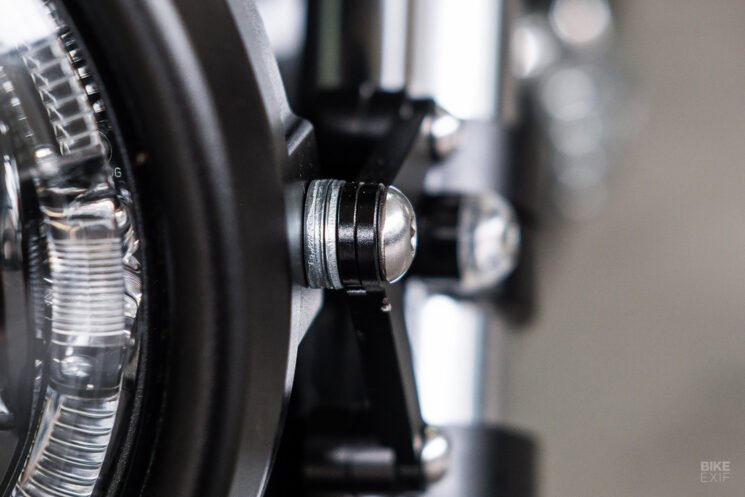
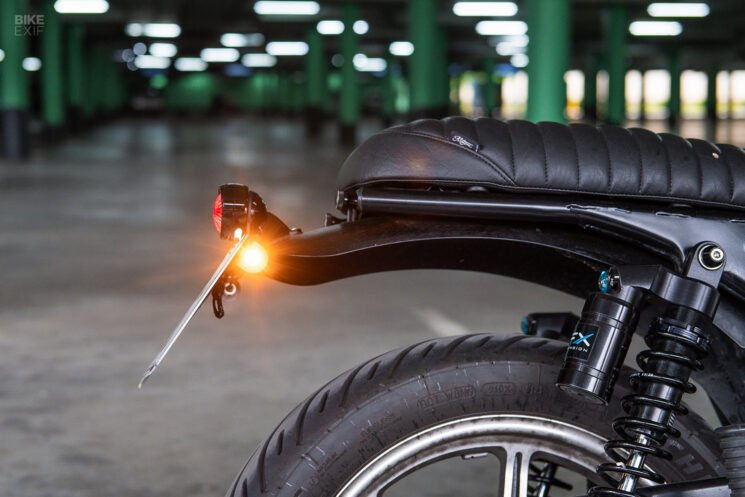
Goal Constructed Moto Omni three-in-one LED flip indicators Selecting the correct model of flip sign for a construct could be a ache, particularly contemplating what number of choices are on the market. The PBM Omni LED is a killer possibility if you need one thing that’s trendy and discreet when it’s off, however unmissable when it’s blinking.
The Omni’s design is uber-simplistic. Out there in black and silver choices, it consists of a stubby base with a domed lens providing 360-degree illumination.
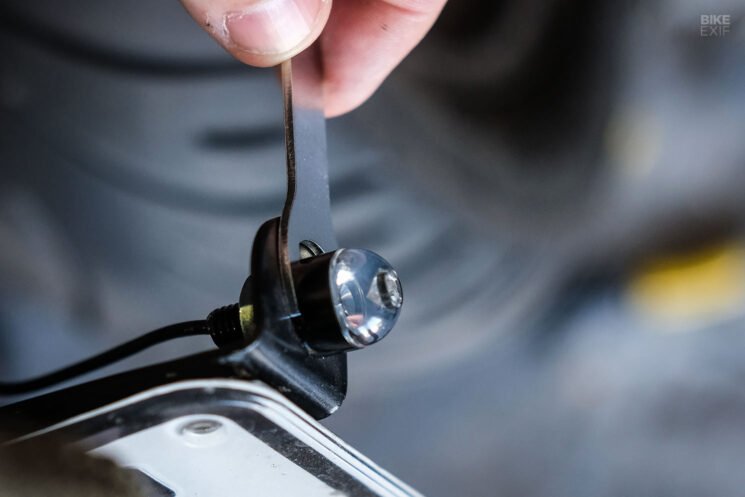
A small Allen-head fastener sits recessed into the lens, however there’s a restrict on how a lot torque you’ll be able to apply to it earlier than it strips (don’t ask me how I do know). If you really want to crank it, PBM provides a small spanner that matches notches machined into the bottom of the Omni’s steel bit. They’re large enough to grip, however sufficiently small that you simply hardly discover them when the flip indicators are put in.
As soon as once more, it is advisable to apply a modicum of DIY ability to put in the Omni flip indicators. Every unit comes with a nut for its commonplace M8 thread, with stripped and pre-soldered wire ends. It’s as much as you ways you join them to your bike’s wiring harness.
The true magic right here is that you would be able to set up the Omni flip indicators nearly wherever. For this mission, I put in the rear flip indicators on both facet of my license plate, and the entrance flip indicators on common brackets from Motone, hooked up just under the highest fringe of the PBM headlight brackets. Granted, these placements are quite conventional, however the potentialities are infinite.
On condition that the flip indicators and Flashpoint headlight each use M8 threads, it’s also possible to use the flip indicators as mounting bolts for the headlight, creating an excellent slicker setup. I thought of this, but it surely does take lots of forwards and backwards to make it work, and I don’t have the endurance. (Moreover, the best way they’re put in now’s neat sufficient.)
It’s additionally value mentioning that you would be able to rig these LEDs to do double responsibility as each flip indicators and taillights, through an non-compulsory splitter cable. I’ve used them solely as flip indicators, and to date, they’ve carried out nicely.
There’s an apparent sacrifice in floor space whenever you ditch your OEM flip indicators for one thing this small (the Omni’s diameter is a whopping 16 mm). However what these petite LEDs lack in measurement, they make up for in brightness. Simply be sure that you become familiar together with your native motorbike roadworthiness laws earlier than you pull the set off.
Trending Merchandise