Mirrors are the bane of any customized bike builder. They’re helpful for seeing what’s behind you and preserving the authorities off your again—however the flawed mirrors can simply spoil an in any other case tidy cockpit.
I’ve tried my justifiable share of low-cost and nasty bar-end mirrors, a lot of which are actually scattered round varied corners of my storage. So when our buddies over at Purpose Built Moto supplied to ship me a set of their common Scrambler mirrors for my Triumph Bonneville, I used to be pumped.
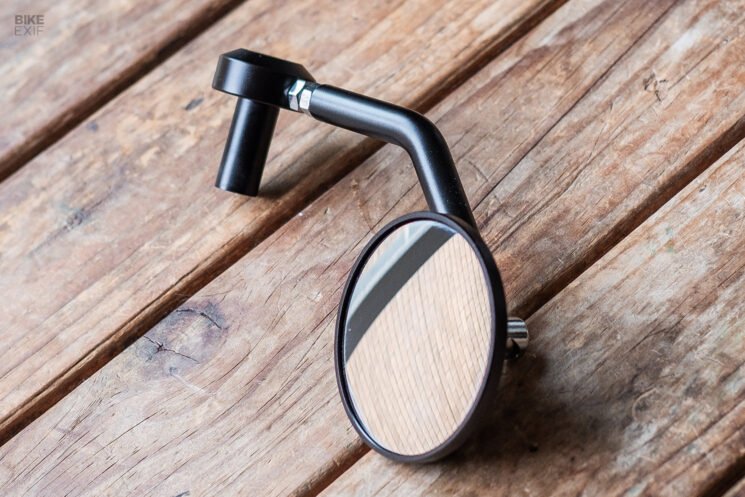
The Objective Constructed Moto Scrambler mirror’s largest asset is its versatility. Due to its impartial aesthetic and compact dimension it’ll look good on nearly any bike and could be mounted in myriad positions.
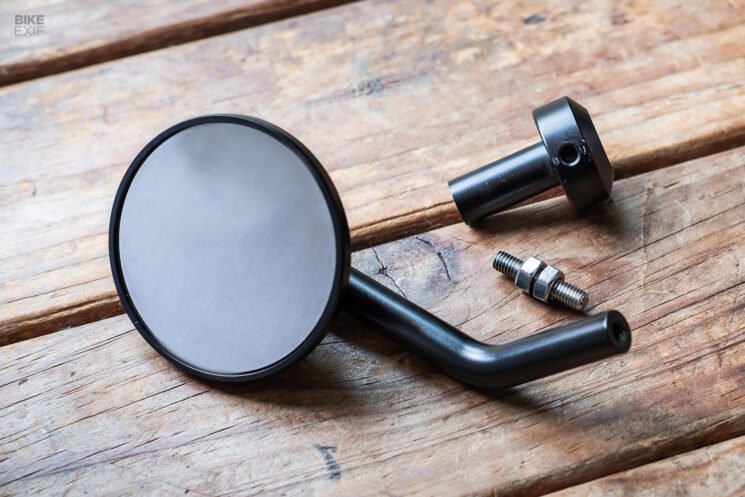
Out there in both black anodized or polished aluminum, the mirror sports activities a brief 155 mm stem and a 72 mm lens. One finish of the stem incorporates a threaded M6 gap, with the mirror connected to the other finish through a ball mount. The ball mount itself attaches to the stem with an Allen head bolt, which could be loosened to swivel it 360 levels, permitting you to flip the mirror fully or fine-tune its positioning.
The Scrambler mirror is accessible as a single unit for AU$65 [about $42] or as a pair for AU$125 [about $81]. In step with PBM’s ethos of creating elements for storage builders, every mirror ships with an extended M6 bolt (that you could lower to dimension) and two M6 screws. So in case your clutch or brake lever perch makes use of an M6 bolt (as most do), you’re set.
Merely take away the lever perch’s current bolt, trim the provided M6 bolt to the precise size, slide it by way of the perch, screw on the 2 M6 nuts, then thread the mirror onto the top. You should utilize this methodology to position the mirror above or under the bars, and you should use the 2 nuts as locking nuts to safe the whole lot. However in fact, nothing is ever easy.
Whereas that methodology would possibly work typically, an array of things can complicate issues. On my Bonneville, that bodily means of mounting the mirror to the entrance brake perch was a stroll within the park. However with the mirror above the bars, I couldn’t see previous my arms—and with it under the bars, it will contact the gasoline tank at full flip.
My Triumph’s clutch lever perch makes use of a stepped bolt that’s solely partially threaded. So I’d have needed to have made a spacer if I used to be planning to duplicate the brake aspect setup on the clutch aspect. Your bike’s handlebars and lever perches is perhaps extra accommodating, however I made a decision to mount PBM’s mirrors to the ends of my bars as an alternative.
PBM sells a bar-end mounting kit for the Scrambler mirror for AU$30 [about $19.40], or you should purchase two mirrors and the kit for a complete of AU$145 [about $94]. Once more, the package is available in both black or polished, with sufficient {hardware} to mount it to only about any bike.
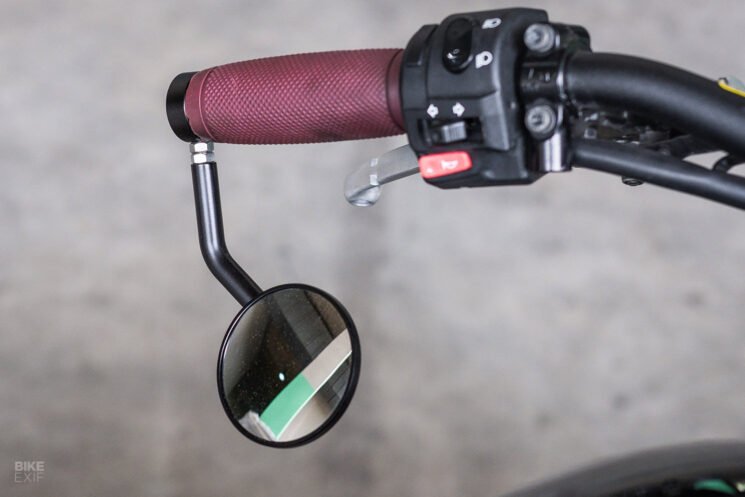
It’s an extremely well-thought-out (and neat) package, and it proved to be simply the ticket for my Triumph Bonneville. The 1st step is to sink one of many provided mounting slugs into the top of your handlebars. (There are sufficient slugs and sleeves provided to go well with three completely different inside handlebar diameters.)
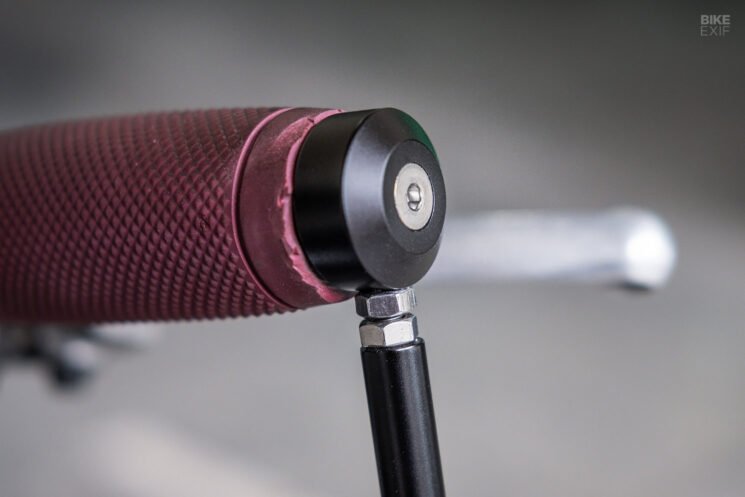
The slug is threaded—so as soon as it’s in place, the aluminum bar finish could be connected to it with the package’s countersunk bolt. Lastly, use the provided threaded M6 rod to connect the mirror stem to the bar finish, utilizing the 2 M6 nuts to lock the whole lot down. Rinse, lather, and repeat the whole lot on the other aspect of the bars.
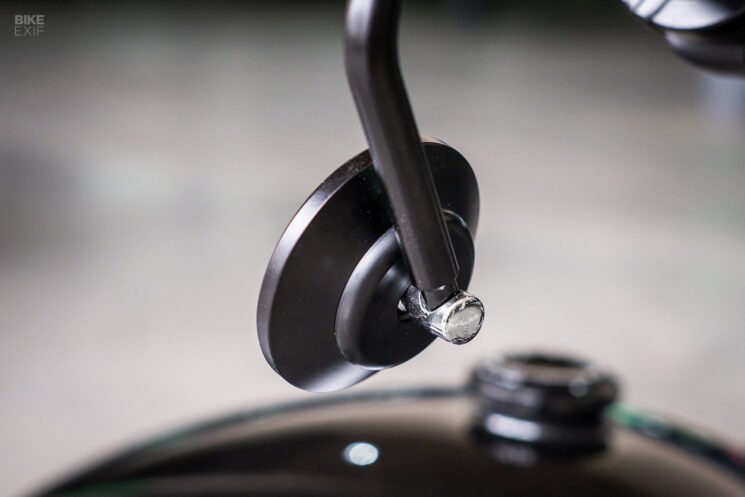
Whereas most bar-end mirror kits use rubber inserts or enlargement bolts to carry them in place, PBM’s setup is far more safe—even when it does require extra effort. The bar-end mounting package comes with a pair of M4 grub screws that may be put in by way of your bars to carry every slug in place. You’ll want a drill and a tap-and-die set to make it occur, in fact.
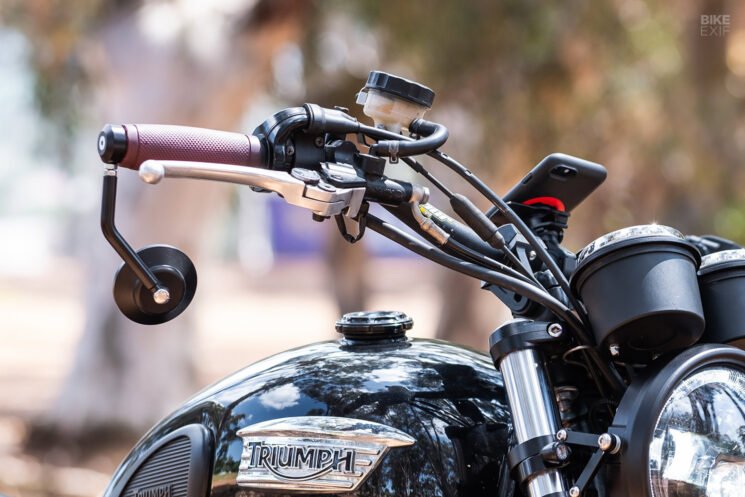
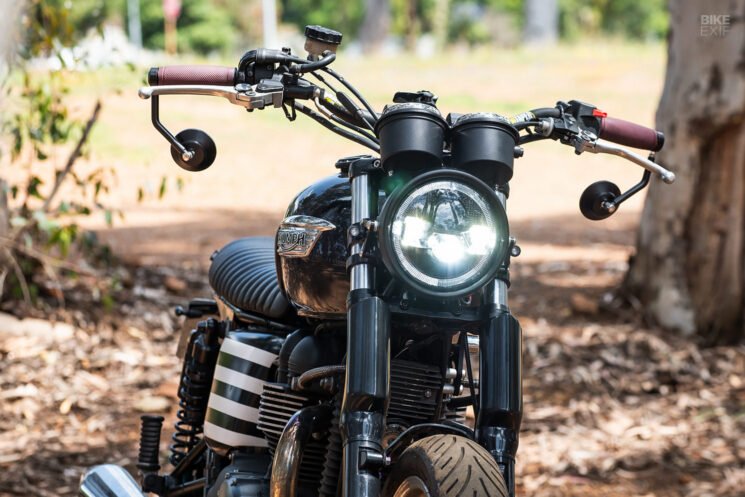
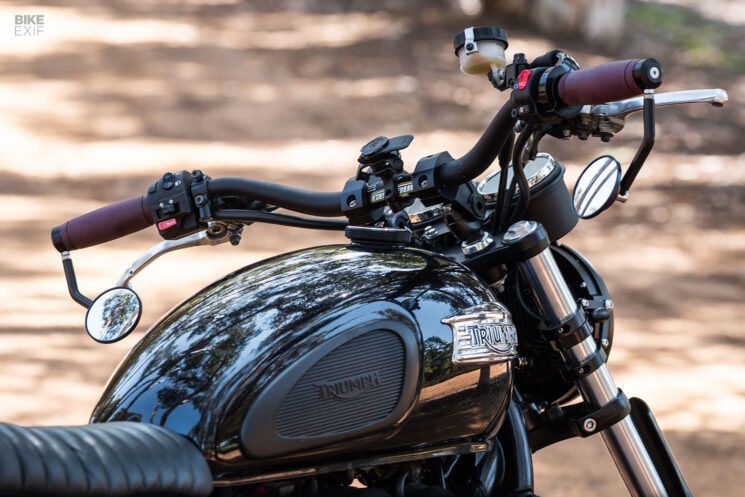
The mirrors could be mounted up or down, and arched inward or outward, relying in your desire. I mounted mine downward and inward; a discreet setup that also provides glorious visibility. Getting them each put in was fast and painless—plus they appear actually good on the air-cooled Bonneville.
Since I’m planning to exchange my grips quickly, I didn’t trouble putting in the grub screws or including thread lock to any of the threads. The slugs I selected have been an ideal match for the within of the ProTaper bars on my Bonneville anyway—so as soon as I’d inspired them into place with a mallet, they didn’t budge.
Months later, I nonetheless haven’t changed my grips—however the ‘take a look at match’ of the PBM Scrambler mirrors has held up remarkably nicely. One slug finally labored itself free however was simply wedged again in place with a dollop of adhesive. On the other finish, I’ve needed to tighten up the bar-end bolt as soon as.
Once I do lastly match the grips (which might be patiently ready on my desk), I’ll set up the grub screws and add thread lock in all the precise locations for a maintenance-free setup.
If we did give out rankings on Bike EXIF, I’d rating the PBM Scrambler mirrors 9.5 out of 10—deducting half some extent solely as a result of the black end is vulnerable to scratches in the event you fiddle with them an excessive amount of. Even with that one niggle, that is one product that’s simple to suggest.
Trending Merchandise